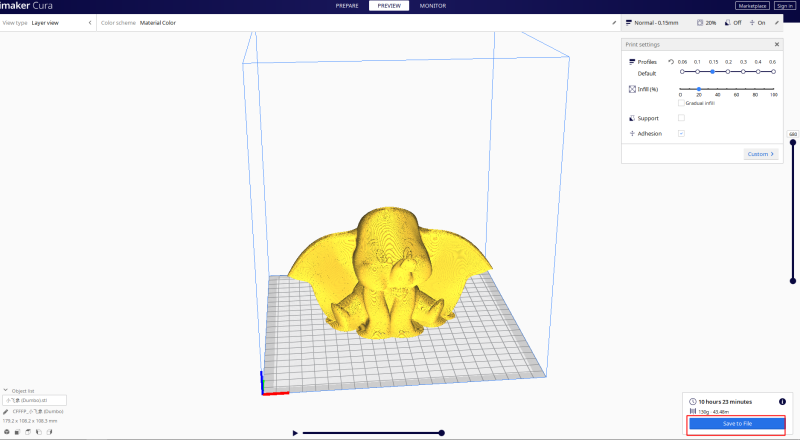
Cura slices 3D models. It translates the 3D STL, OBJ or 3MF file into G-code file that the printer can understand. You can download 3D model in the STL file format from online platform such as https://www.thingiverse.com or you designed with CAD software.
If you have any questions about the usage of slicer software, please feel free to contact us via email support@labists.com.
Cura Tutorial - Step 1: Installing Cura
Please click the following link to download the software
https://ultimaker.com/software/ultimaker-cura
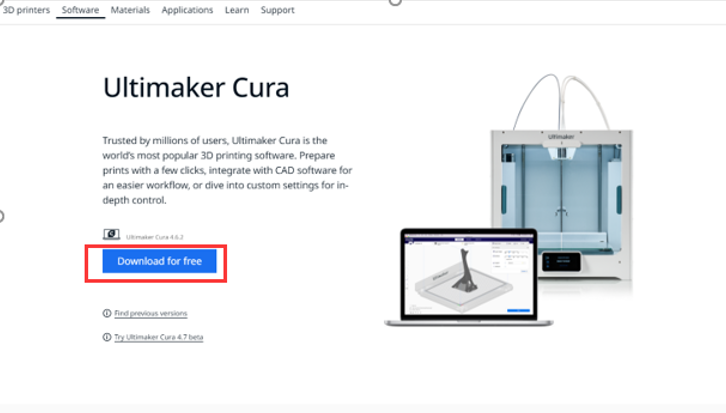
Please click the “download for free”in the following picture.
Cura Tutorial - Step 2: Add a printer
please just select the custom and then write down with keyboard Labist printer in the printer name.

Then please set the printer and extrude default in the two pages.

Please input 2 in the cooling fan number

Cura Tutorial - Step 3: Import LABISTS ET4 configuration profile
1) Please click the following link to download LABISTS ET4 configuration profile:
LABISTS ET4 Profile
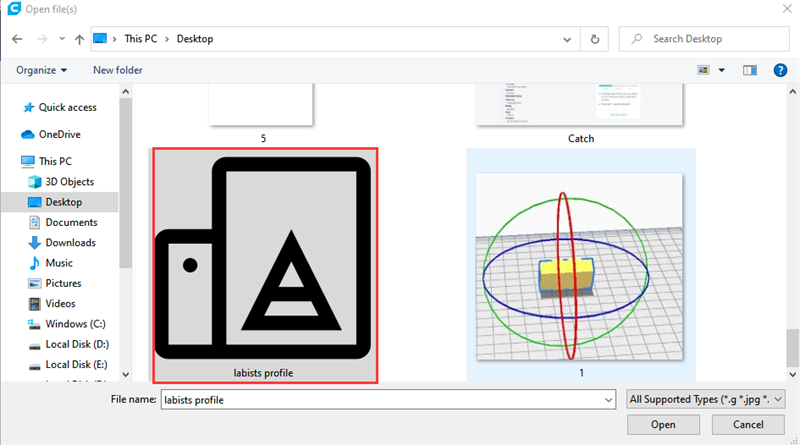
2) Please click the file , then select the labists profile.3mf file in your PC, then click “Open”
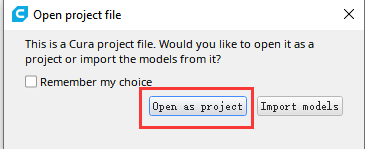
3)Select “Open as project”, then pop up the windows “Summary – Cura Project”, then Click “Open”
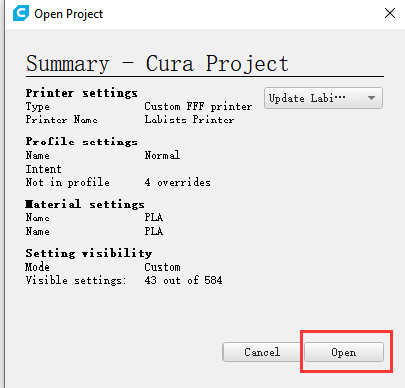
4) When you see the Labists Printer in the menu bar, it shows successfully importing the LABISTS ET4 configuration profile
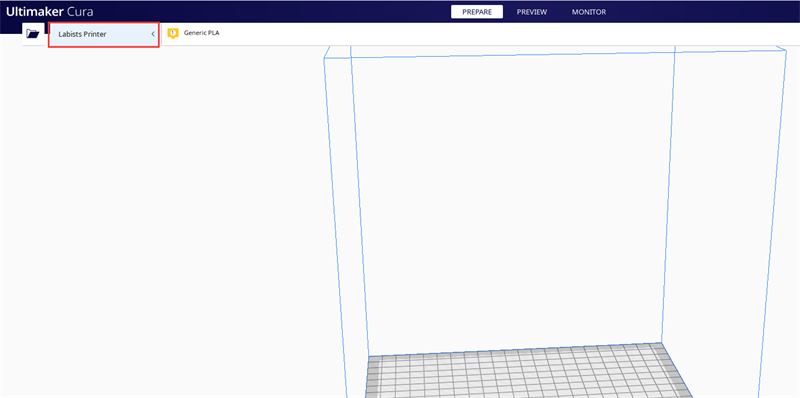
Cura Tutorial - Step 4: Adding a 3D printer model to Cura
Once you have set up Cura for your printer, it’s time to import a model into the Cura software.
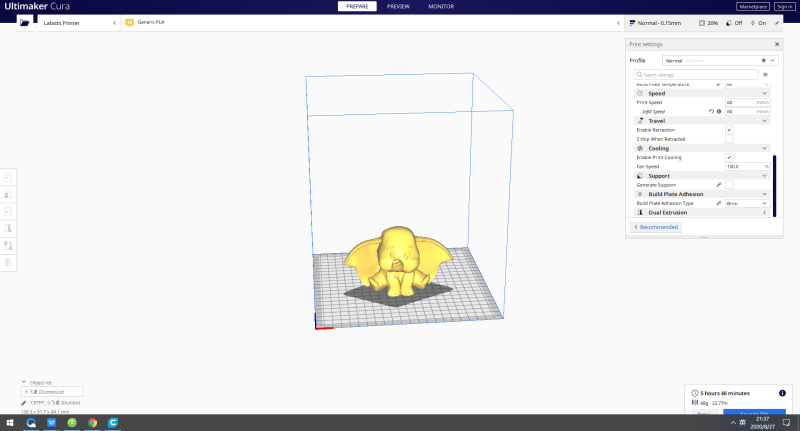
To import a model, you can either click on the floating folder icon on the left or select File > Open File(s) from the top menu. Select an STL, OBJ, or 3MF file from your computer and Cura will import it.
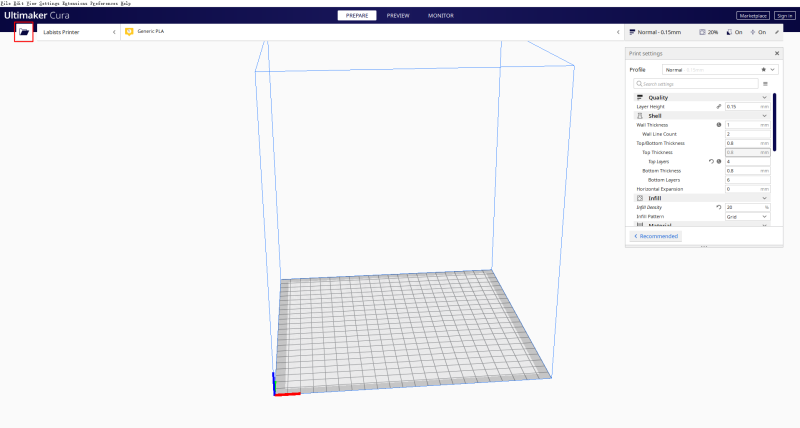
Wait a little bit and the model will appear on the Cura build area (the box in the center).
Cura Tutorial - Step 5: Changing the viewpoint of the build area in Cura
When the model appears in the build area, it typically looks too small or too big. You might also want to see the model from another angle or from another height. Here is how you can change your viewpoint of the build area to get the most convenient view of the model in Cura.
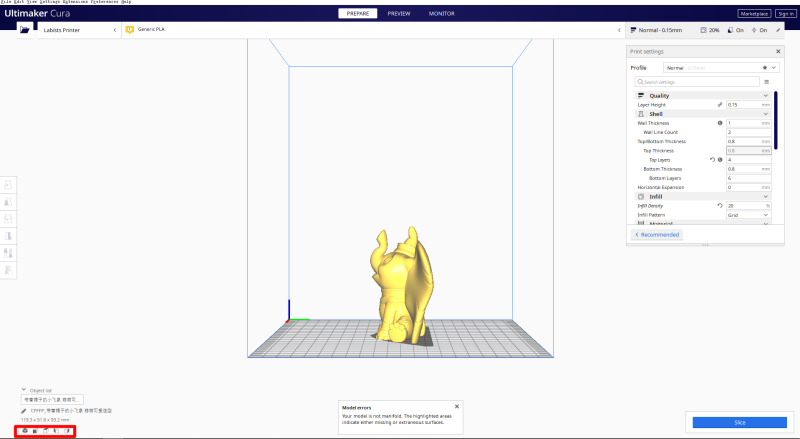
You can change viewpoint by right clicking and dragging or scrolling the mouse, or using the buttons in the lower corner
Navigate the Cura build area: Hold down Shift and left-click to move the build area around the screen. This is often useful if you zoom into the model to check out some of the finer detail,
only to find that the detail you want to look at is hidden off screen due to the scale.
Rotate around the Cura build area: Press and hold right-click to rotate around the build area (In Ubuntu and Mac, you can simply press the left mouse button and drag in order to rotate the model). This is handy for checking the 3D model from every angle.
Zoom the build area in the Cura slicer: Use the mouse’s middle scroll wheel if you have one to zoom in and out of the model. If you don’t have a mouse with a scroll wheel we would highly recommend getting one.
Model views in Cura
In the Cura software, there are three basic ways to view the model. Each is useful for different reasons, especially when a problem arises with your prints.
Solid: Cura’s default view enables you to get a good idea of how the model will look when printed. It will show you the size and shape related to the print platform. Generally, if all looks OK and you’ve used the shortcuts just to navigate around the model, then hopefully all will turn out just fine.
X-Ray: Found under Preview, this feature is great for when prints go wrong and quickly enables you to see parts of the internal structure of your print. Where it really comes in handy is if your print is suffering from manifold edges — edges that intersect other edges. Cura’s X-Ray enables you to see what needs to be reworked.
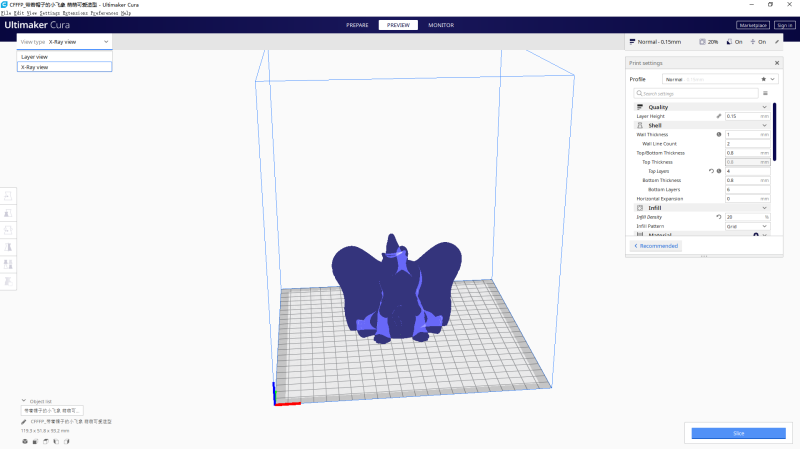
X-Ray view in Cura
Layers: Also under Preview, if a print is failing every time at a certain point, or you’ve done something clever and just want to check that part of the print is OK, you can switch to Layer view. An accurate way to do this is with the arrow keys. Alternatively, there’s a slider for quickly looking through all of the layers that build up your print. As you get more advanced with Cura, this feature is handy for pinpointing layers where you want to change settings in the G-code, such as to increase fan speed, layer height or flow.

The Layer View in Cura shows how the layers build up the final model
Moving, scaling or rotating the model on the build platform in Cura
Sometimes, you may want to move the model along Cura’s build area because you don’t want to print the model right at the center of the printer platform. At other times, the imported model might have the wrong orientation on the build area.
If your model needs adjusting, all you need to do is click on the model so that it is highlighted and then select one of the options from the tools on the left. Here you can quickly move, rotate, and scale the model.
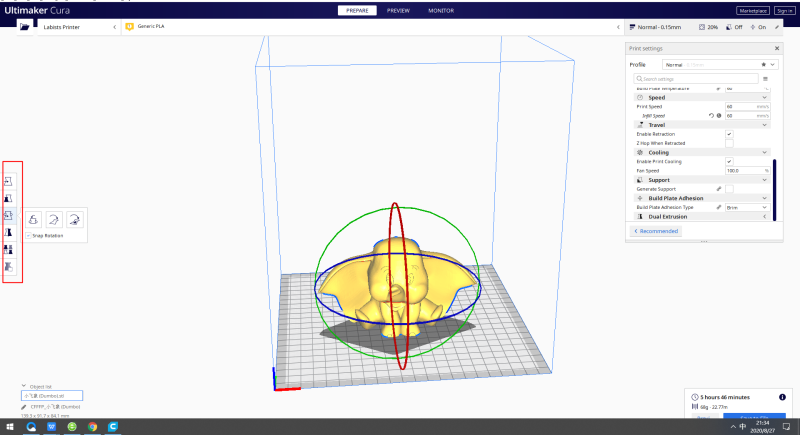
When you click on any of the Tool options in Cura, you’ll see the arrows appear around the model. Just grab an arrow or hoop to make the change in the direction that you want. If you go wrong then you can just right-click and select Reset.
You might want to print more than one model. With the model selected, right-click and select duplicate. Cura 3D will automatically reposition the models. If there’s enough space to print two or more, then all models on the platform will be yellow. If there isn’t enough space, then the model out of the print area will be shaded gray.
Cura Tutorial - Step 6: Cura’s settings panel
( if you want to use the setting in the ET4 profile, please skip this step. or you can customize the setting again. )
Perhaps the most important part of the Cura window is the settings panel on the right. You need to choose the correct settings in this panel in order to get your desired print quality.
Cura’s settings panel is divided into two sections. The topmost section is the Printer Settings and the next section is called Print Setup.
PRINTER SETTINGS
This section lets you select the right printer and material.
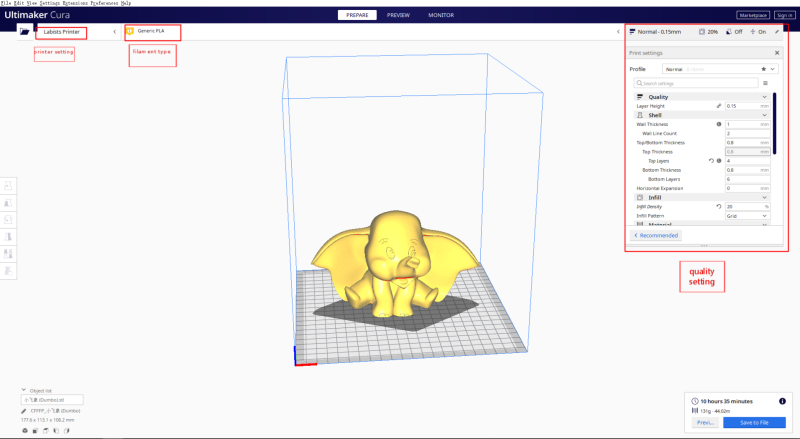
Printer: This is the printer that you selected in the first step. If you have more than one printer, then these can be set up, and then selected from this dropdown menu.
Material & Temperature: Quickly select the material and nozzle that your printer is using, and temperatures will be automatically adjusted.
PRINT SETUP
There are two options: Recommended and Custom
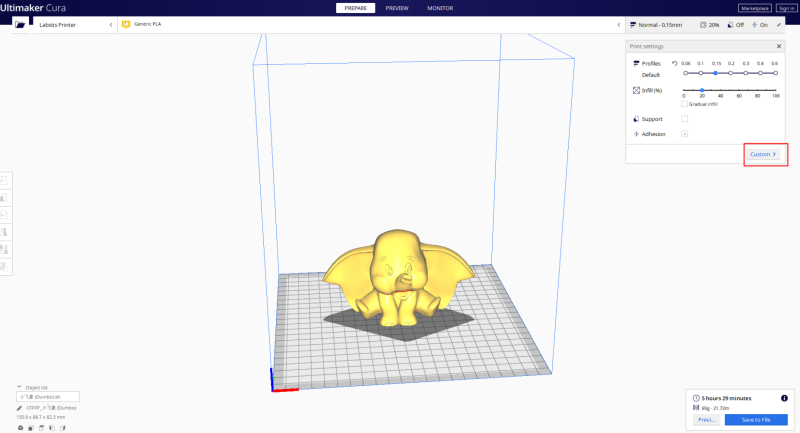
Settings tabs in the Cura GUI
Recommended: The Recommended print options are calculated on the settings you input when initially configuring the Cura slicer for your printer. This option is a great choice when you’re just starting out or you just want to see how the software and printer communicate. Options are limited under the Recommended header, but you can quickly adjust quality, infill, plate adhesion, and basic support structures.
Custom: This is where the fun really starts and will enable you to adjust the print settings – from quality through to speed. We’ll look at this section and the options a little later.
The Recommended settings
LAYER HEIGHT
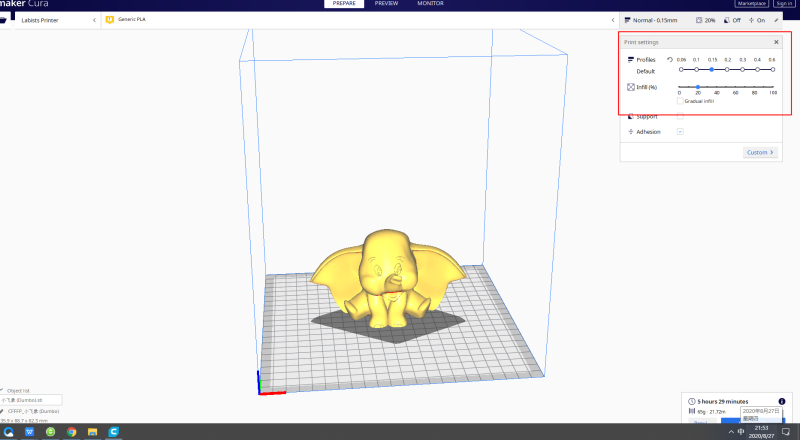
Change Layer Height according to the desired print quality
As we have already discussed, 3D printers print an object by depositing layer after layer of material. The Layer Height slider in Cura controls the height of each individual layer. Here, the rule is: the lower the layer height, the better the print quality and vice versa. But note that setting a low value for Layer Height means that the print is going to take proportionally longer to complete. You need to make a trade-off between quality and print speed and pick your own sweet spot. 0.1 mm is a good starting point.
INFILL IN CARE
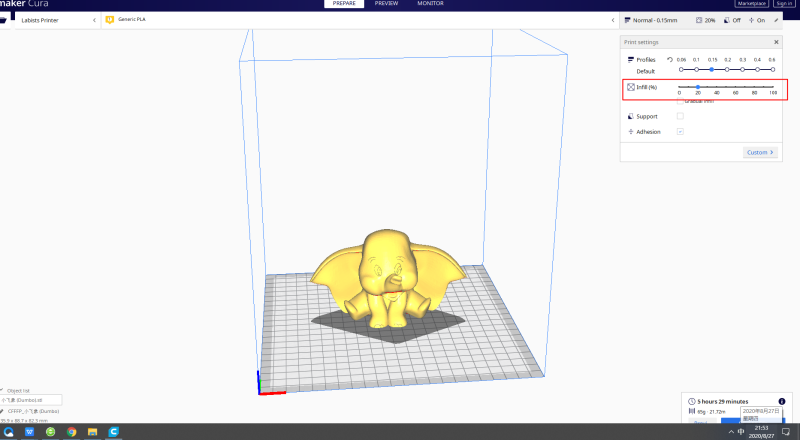
Change Infill Density to control the sturdiness of the model
The Infill slider controls the quality of the infill. Setting it to 0 % essentially means that you don’t want any infill and want your object to be hollow. Anything in the range of 10% – 40% is known as a light infill. The 50% – 90% range is called a medium infill. Setting the slider to 100% will produce the strongest model. Light is a good starting point.
When the Infill slider is set to above 0%, a checkbox titled Enable Gradual appears. Checking this box will make Cura gradually increase the amount of infill towards the top of the model. This lets you use a low value for Infill and still get decent top quality. It’s recommended that you check this box when using low values for Infill.
Cura Tutorial - Step 7: Generate a G-code file with Cura
The model is now print-ready and all you need to do is to export the file from Cura to either an SD card or send it directly to the printer. Cura will now handle everything converting the 3D STL or OBJ into the G-code file required by the printer.
1. Save the 3D print file: Click either Save to file, Save to SD or Send to Printer button on the bottom right of the window.
2. Estimate of time for 3D print: Cura will give you a rough estimate on the length of time it will take for your printer to print the piece.
3. Start the 3D print: If tethered, sit back and wait for the printer to fire up and start printing. If you save to SD, then eject the SD card from your computer and transfer to your printer. Select print, select the file, and go.
